Note
Access to this page requires authorization. You can try signing in or changing directories.
Access to this page requires authorization. You can try changing directories.
This guide walks you through the essential steps needed to create, test, and deploy a custom question answering (CQA) knowledge base in the Microsoft Foundry. Whether you're transitioning from Language Studio or starting from scratch, this guide is for you. It provides clear and actionable instructions to achieve a fast and successful CQA deployment in the Foundry.
Note
- If you already have an Azure Language in Foundry Tools or multi-service resource—whether used on its own or through Language Studio—you can continue to use those existing Language resources within the Foundry portal. For more information, see How to use Foundry Tools in the Foundry portal.
- In Foundry, a fine-tuning task serves as your workspace for your CQA solutions. Previously, a fine-tuning task was referred to as a CQA project. You might encounter both terms used interchangeably in older CQA documentation.
- We highly recommend that you use a Foundry resource in the Foundry; however, you can also follow these instructions using a Language resource.
Prerequisites
Before you get started, you need the following resources and permissions:
- An active Azure subscription. If you don't have one, create one for free.
- Requisite permissions. Make sure the person establishing the account and project is assigned as the Azure AI Account Owner role at the subscription level. Alternatively, having either the Contributor or Cognitive Services Contributor role at the subscription scope also meets this requirement. For more information, see Role based access control (RBAC).
- A Foundry resource or a Language resource.
- An Azure AI Search resource (required for accessing CQA). For more information on how to connect your Azure AI Search resource, see Configure connections in Foundry
- A Foundry project created in the Foundry. For more information, see Create a Foundry project.
Get started
Navigate to the Foundry.
If you aren't already signed in, the portal prompts you to do so with your Azure credentials.
Once signed in, you can create or access your existing projects within Foundry.
If you're not already at your project for this task, select it.
Create your CQA fine tuning task
In the Foundry, a fine-tuning task serves as your workspace for your CQA solutions. Previously, a fine-tuning task was referred to as a CQA project. You might encounter both terms used interchangeably in older CQA documentation.
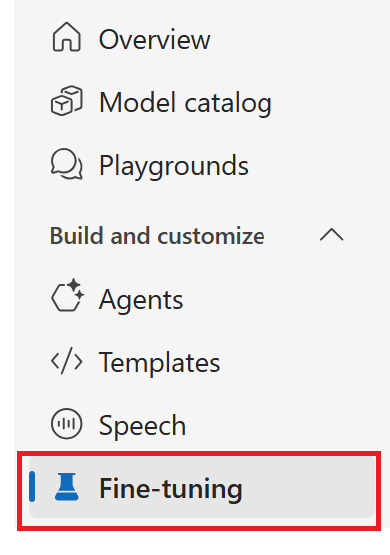
After you select the Foundry project to use for this project, select fine-tuning from the left navigation menu.
From the main window, select the AI Service fine-tuning tab and then the + Fine-tune button.

From the Create service fine-tuning window, choose the Custom question answering tab and then select Next.

Select your Connected Azure AI Search resource from the Create CQA fine tuning task window. For more information, see Configure Azure resource connections.
Next, complete the Name and Language fields. For this project, you can leave the Default answer when no answer is returned field as is (No answer found).
Select the Create button.
Add a CQA knowledge base source
A CQA knowledge base is a structured set of question-and-answer pairs optimized for conversational AI. The knowledge base uses natural language processing to interpret user queries and return context-aware, accurate answers from a specific dataset.
From the Getting Started menu, select Manage sources.

From the main window, select the + Add source drop-down menu.
From the drop-down menu you can select Add chit chat, Add URLs, or Add Files.

For this project, choose Add URLS.
In the Add URLs window, add the following values:
URL name: Surface Book User Guide
Classify file structure: Leave the default setting (Auto-detect)

Finally, select the Add URLs button.
The extraction process requires a short amount of time to analyze the document and detect questions and answers. During this step, the service evaluates whether the content is structured or unstructured.
Once the source is successfully added, you can edit its contents and include added custom question-and-answer pairs.
Once the source is successfully added, it appears in the Manage sources window. There you have the option to edit its contents and include additional custom question-and-answer pairs.

Test your knowledge base
Select Test knowledge base from the Getting Started menu.
In the main window, Enter the question How do I set up my Surface Book? and then select the Run button. Answers are returned using the question-and-answer pairs that were automatically detected and taken from the source URL:


Deploy your knowledge base
Deploying a CQA knowledge base means publishing your curated question-and-answer content as a live, searchable endpoint. This process moves your project from a testing phase to a production environment enabling client applications to use it for various projects and solutions, including chatbots.
Once your inspection is complete, choose the Deploy knowledge base section from the Getting Started menu.
Select the Deploy button first from the Deploy knowledge base main window and then from the Deploy this project pop-up window. It takes a few minutes to deploy.
After deployment is complete, your deployed project is listed in the Deploy knowledge base window.
That's it! Your Custom Question Answering (CQA) knowledge base provides a natural language interface to your data, allowing users to interact with information in a conversational manner. By deploying this solution, you can create advanced chatbots and interactive agents that comprehend user questions, supply precise answers, and adjust to changing informational requirements.
Clean up resources
To clean up and remove an Azure AI subscription, you can delete either the individual resource or the entire resource group. If you delete the resource group, all resources contained within it will also be deleted.