Note
Access to this page requires authorization. You can try signing in or changing directories.
Access to this page requires authorization. You can try changing directories.
Applies to: ✔️ Windows VMs ✔️ Linux VMs ✔️ Windows Registry ✔️ Windows Files ✔️ Linux Files ✔️ Windows Software
This article provides detailed procedure on how you can enable Azure CTI at scale using Azure portal - Machines pane.
At scale deployment
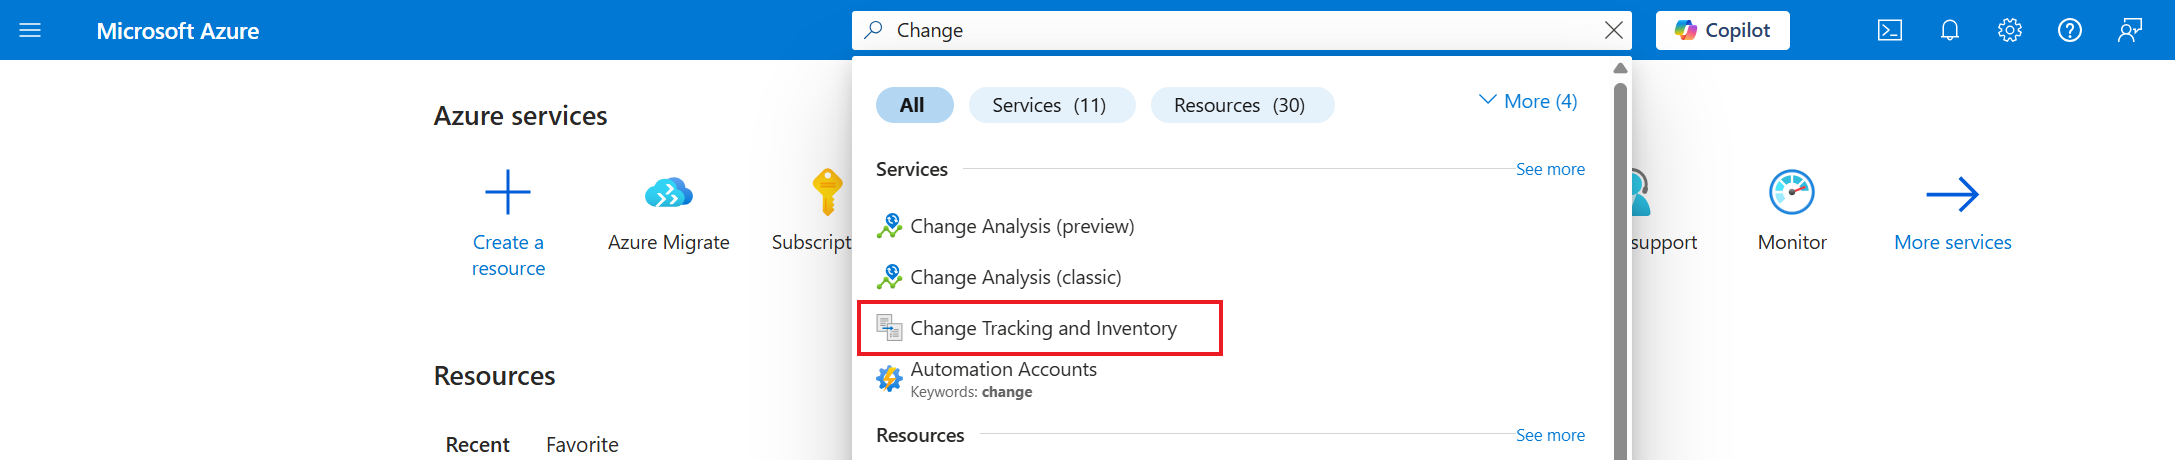
In the Azure portal, search for Change Tracking and Inventory.
Select Machines from the Resources. As per the selected subscription, the machines are listed which will confirm if they are enabled for Azure CTI under the Enabled column.

On the top of the pane, you will also see a banner which displays the total number of machines in the selected subscription that are enabled for Azure CTI.
In the filters, select Enabled to view the options.
Select Yes to view the machines enabled with Azure CTI.
Select No to view the machines that aren't enabled with Azure CTI.
Select Select all to view all the machines in the selected subscription with or without Azure CTI enabled.

To enable Azure CTI at scale, do the following:
- In the Enabled filters column, select No.
- In the Machine status filters column, select VM running and Connected.
- Select all in the Name column to view the list of machines that are ready to be enabled.
- Select all the machines for which you intend to enable the CTI and then select Enable Change Tracking and Inventory.


