Note
Access to this page requires authorization. You can try signing in or changing directories.
Access to this page requires authorization. You can try changing directories.
Microsoft Security DevOps is a command-line application that integrates static analysis into your development lifecycle. It installs, configures, and runs the latest SDL, security, and compliance analyzers using portable configurations to ensure consistent, deterministic execution across environments.
Microsoft Security DevOps uses the following open-source tools:
| Name | Language | License |
|---|---|---|
| AntiMalware | Anti-malware protection in Windows from Microsoft Defender for Endpoint. Scans for malware and breaks the build if malicious content is detected. Runs by default on the Windows-latest agent. | Not open source |
| Bandit | Python | Apache License 2.0 |
| BinSkim | Binary targets: Windows, ELF | MIT License |
| Checkov | Terraform, Terraform plan, CloudFormation, AWS SAM, Kubernetes, Helm charts, Kustomize, Dockerfile, Serverless, Bicep, OpenAPI, ARM | Apache License 2.0 |
| ESLint | JavaScript | MIT License |
| IaCFileScanner | Template mapping tool for Terraform, CloudFormation, ARM templates, and Bicep | Not open source |
| Template Analyzer | ARM templates, Bicep | MIT License |
| Terrascan | Terraform (HCL2), Kubernetes (JSON/YAML), Helm v3, Kustomize, Dockerfiles, CloudFormation | Apache License 2.0 |
| Trivy | Container images, infrastructure as code (IaC) | Apache License 2.0 |
Note
As of September 20, 2023, the secrets scanning (CredScan) tool within the Microsoft Security DevOps (MSDO) Extension for Azure DevOps has been deprecated. MSDO secrets scanning is replaced with GitHub Advanced Security for Azure DevOps.
Prerequisites
- You need Project Collection Administrator privileges in your Azure DevOps organization to install the extension. If you don't have access, request it from your Azure DevOps administrator during installation.
Configure the Microsoft Security DevOps Azure DevOps extension
Sign in to Azure DevOps.
Go to Shopping Bag > Manage extensions.

Select Shared.
Note
If you've already installed the Microsoft Security DevOps extension, it is listed in the Installed tab.
Select Microsoft Security DevOps.

Select Install.
Select the appropriate organization from the dropdown menu.
Select Install.
Select Proceed to organization.
Configure pipelines using YAML
Sign into Azure DevOps.
Select your project.
Go to Pipelines > New pipeline.

Select Azure Repos Git.

Select the relevant repository.

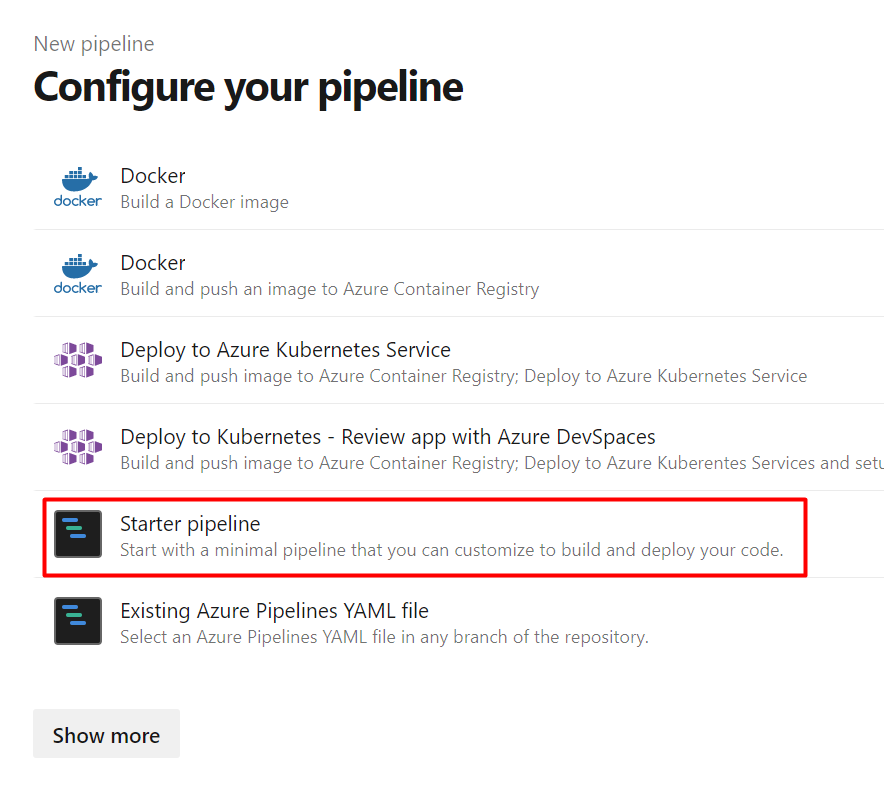
Select Starter pipeline.
Paste the following YAML into the pipeline:
# Starter pipeline
# Start with a minimal pipeline that you can customize to build and deploy your code.
# Add steps that build, run tests, deploy, and more:
# https://aka.ms/yaml
trigger: none
pool:
  # ubuntu-latest also supported.
  vmImage: 'windows-latest'
steps:
- task: MicrosoftSecurityDevOps@1
  displayName: 'Microsoft Security DevOps'
  # inputs:
    # config: string. Optional. A file path to an MSDO configuration file ('*.gdnconfig'). Vist the MSDO GitHub wiki linked below for additional configuration instructions
    # policy: 'azuredevops' | 'microsoft' | 'none'. Optional. The name of a well-known Microsoft policy to determine the tools/checks to run. If no configuration file or list of tools is provided, the policy may instruct MSDO which tools to run. Default: azuredevops.
    # categories: string. Optional. A comma-separated list of analyzer categories to run. Values: 'code', 'artifacts', 'IaC', 'containers'. Example: 'IaC, containers'. Defaults to all.
    # languages: string. Optional. A comma-separated list of languages to analyze. Example: 'javascript,typescript'. Defaults to all.
    # tools: string. Optional. A comma-separated list of analyzer tools to run. Values: 'bandit', 'binskim', 'checkov', 'eslint', 'templateanalyzer', 'terrascan', 'trivy'. Example 'templateanalyzer, trivy'
    # break: boolean. Optional. If true, will fail this build step if any high severity level results are found. Default: false.
    # publish: boolean. Optional. If true, will publish the output SARIF results file to the chosen pipeline artifact. Default: true.
    # artifactName: string. Optional. The name of the pipeline artifact to publish the SARIF result file to. Default: CodeAnalysisLogs*.
Note
The artifactName 'CodeAnalysisLogs' is required for integration with Defender for Cloud. For additional tool configuration options and environment variables, see the Microsoft Security DevOps wiki
Select Save and run to commit and run the pipeline.
Note
Install the SARIF SAST Scans Tab extension to automatically display SARIF analysis results in the pipeline’s Scans tab.

Uploading findings from third-party security tools into Defender for Cloud
Defender for Cloud can ingest SARIF results from other security tools for code-to-cloud visibility. To upload these results, ensure your Azure DevOps repositories are onboarded to Defender for Cloud. After onboarding, Defender for Cloud continuously monitors the CodeAnalysisLogs artifact for SARIF output.
Use the PublishBuildArtifacts@1 task to publish SARIF files to the CodeAnalysisLogs artifact. For example:
- task: PublishBuildArtifacts@1
  inputs:
    PathtoPublish: 'results.sarif'
    ArtifactName: 'CodeAnalysisLogs'
Defender for Cloud displays these findings under the Azure DevOps repositories should have code scanning findings resolved assessment for the affected repository.