Note
Access to this page requires authorization. You can try signing in or changing directories.
Access to this page requires authorization. You can try changing directories.
This article shows you how to enable Microsoft Defender for Containers on your Google Kubernetes Engine (GKE) clusters through the Azure portal. You can choose to enable all security features at once for comprehensive protection, or selectively deploy specific components based on your requirements.
When to use this guide
Use this guide if you want to:
- Set up Defender for Containers on GCP for the first time
- Enable all security features for comprehensive protection
- Selectively deploy specific components
- Fix or add missing components to an existing deployment
- Deploy using a controlled, selective approach
- Exclude certain clusters from protection
Prerequisites
Network requirements
Validate that the following endpoints for public cloud deployments are configured for outbound access. Configuring them for outbound access helps ensure that the Defender sensor can connect to Microsoft Defender for Cloud to send security data and events.
Note
The Azure domains *.ods.opinsights.azure.com and *.oms.opinsights.azure.com no longer required for outbound access. For more information, see the deprecation announcement.
| Azure domain | Azure Government domain | Azure operated by 21Vianet domain | Port |
|---|---|---|---|
| *.cloud.defender.microsoft.com | N/A | N/A | 443 |
You also need to validate the Azure Arc-enabled Kubernetes network requirements.
GCP-specific requirements:
- GCP project with appropriate permissions
- GKE clusters (version 1.19+)
- Container images in Google Container Registry or Artifact Registry
- Service account with required IAM roles
- Cloud Shell or gcloud CLI configured
Create GCP connector
Sign in to the Azure portal.
Go to Microsoft Defender for Cloud.
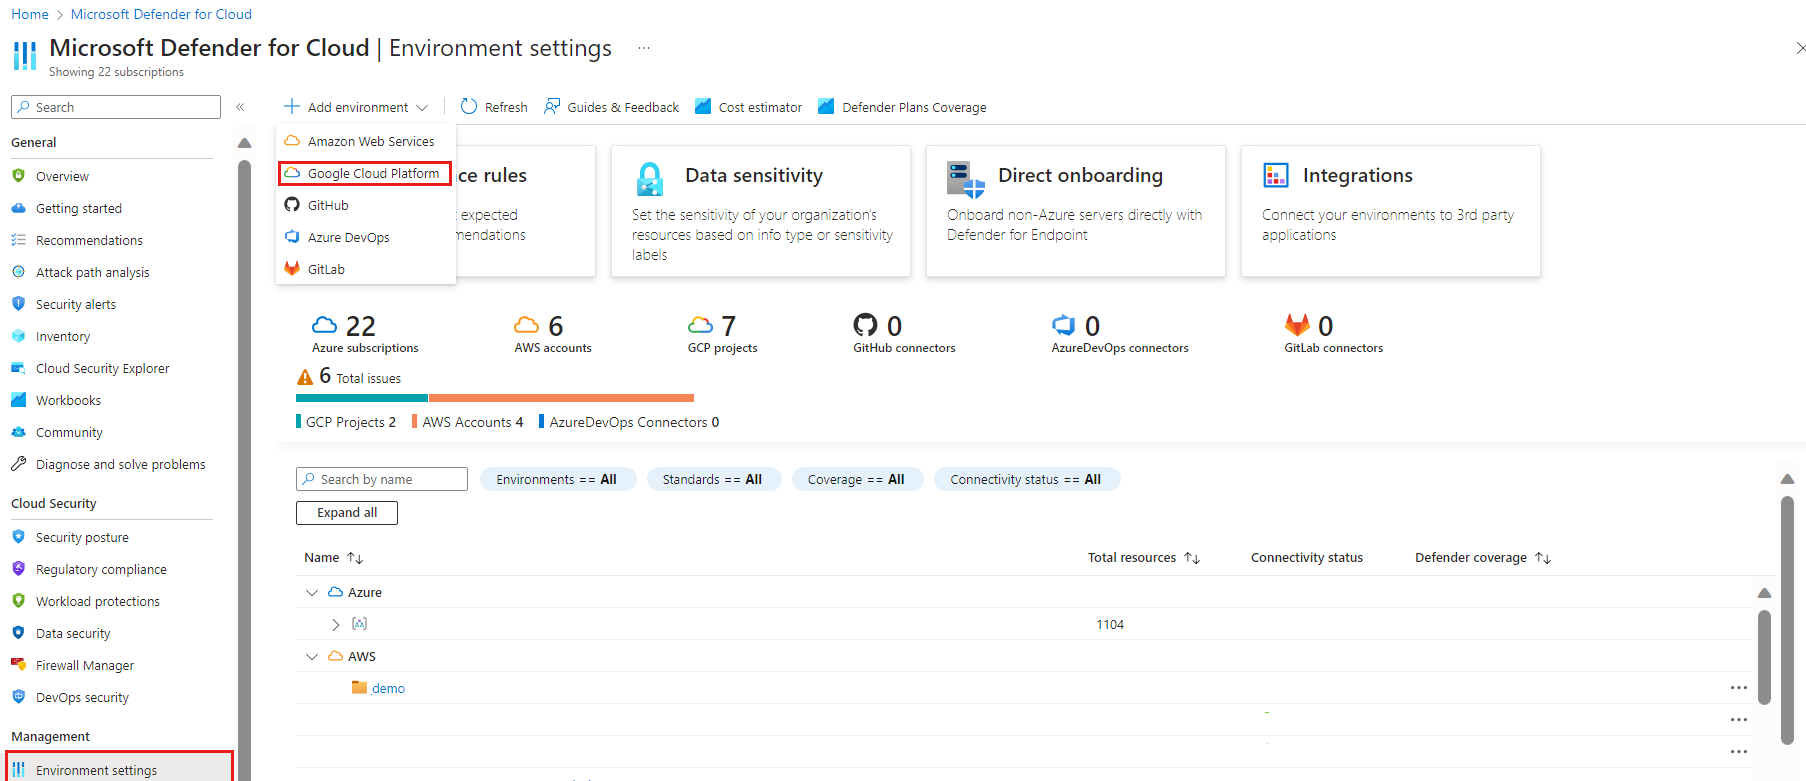
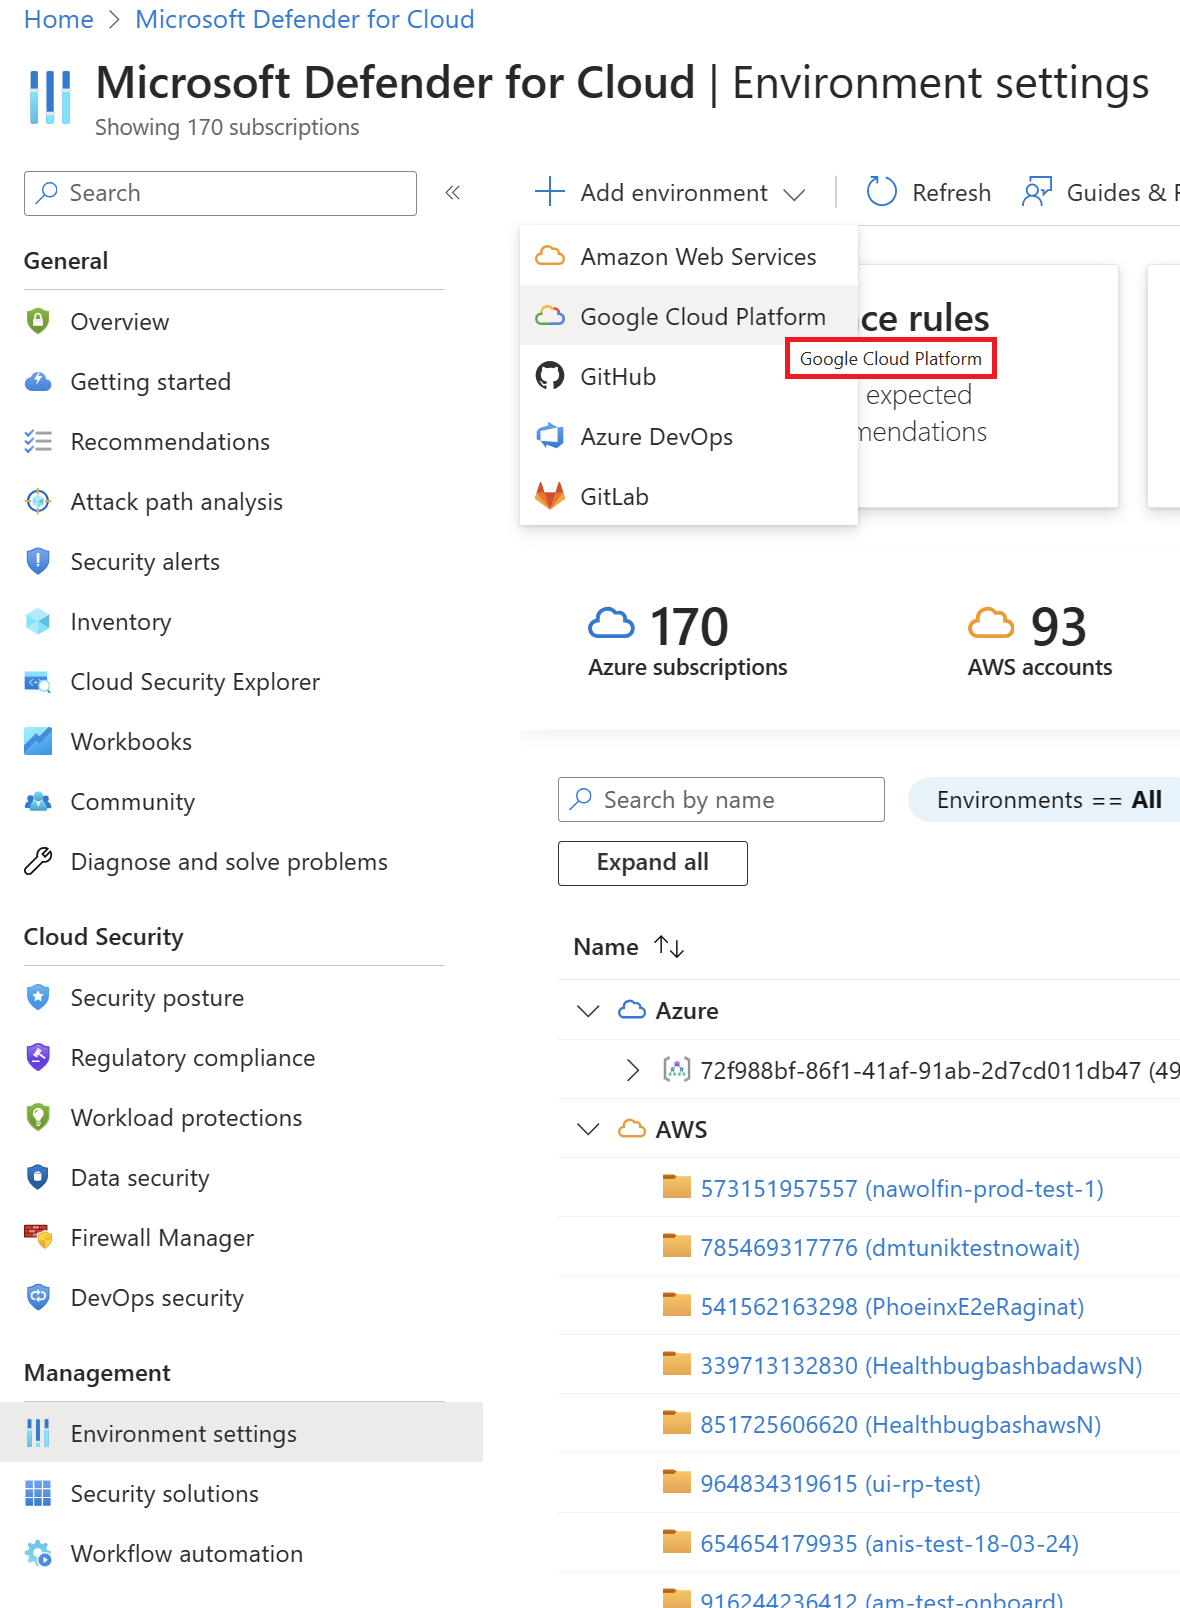
Select Environment settings from the left menu.
Select Add environment > Google Cloud Platform.
Select the relevant GCP connector if you have multiple:


Configure connector details
In the Account details section, enter:
- Connector name: A descriptive name for your GCP project
- GCP project ID: Your GCP project identifier
- Resource group: Select or create a resource group

Select Next: Select plans.

Enable Defender for Containers features
In Select plans, toggle Containers to On.

Select Configure to access the plan settings.

Choose your deployment approach:
- Enable all components (recommended): Enable all features for comprehensive protection
- Enable specific components: Select only the components you need
Available components:
- Agentless discovery for Kubernetes - Discovers all GKE clusters
- Agentless container vulnerability assessment - Scans registry images
- Defender DaemonSet - Runtime threat detection
- Azure Policy for Kubernetes - Security recommendations
Select Continue and Next: Configure access.


Set up GCP permissions
Download the setup script from the portal.
Open Google Cloud Shell or your local terminal with gcloud configured.
Run the setup script to create the required service account and permissions:
# The portal provides a script similar to this
bash defender-for-containers-setup.sh \
    --project-id <project-id> \
    --workload-identity-pool <pool-name>
The script creates:
- Service account with necessary IAM roles
- Workload identity federation
- API enablement
Copy the service account email from the script output.

Return to Azure portal and paste the service account email.

Select Next: Review and create.

Deploy all components
Follow these steps to enable comprehensive protection for all your GKE clusters.
Connect GKE clusters to Azure Arc
After creating the connector:
Go to Microsoft Defender for Cloud > Recommendations.
Look for the recommendation "GKE clusters should be connected to Azure Arc".
Select the recommendation to see affected clusters.
Follow the remediation steps to connect each cluster:
# Connect GKE cluster to Arc
az connectedk8s connect \
    --name <cluster-name> \
    --resource-group <resource-group> \
    --location <location>
Deploy the Defender sensor
Important
Deploying the Defender sensor using Helm: Unlike other options that are autoprovisioned and updated automatically, Helm lets you flexibly deploy the Defender sensor. This approach is especially useful in DevOps and infrastructure-as-code scenarios. With Helm, you can integrate deployment into CI/CD pipelines and control all sensor updates. You can also choose to receive preview and GA versions. For instructions on installing the Defender sensor using Helm, see Install Defender for Containers sensor using Helm.
After connecting your GKE clusters to Azure Arc:
Go to Microsoft Defender for Cloud > Recommendations.
Search for "Arc-enabled Kubernetes clusters should have Defender extension installed".


Select your GKE clusters.
Select Fix to deploy the sensor.


Note
You can also deploy the Defender sensor by using Helm for more control. For more information, see Deploy Defender sensor using Helm.
Configure container registry scanning
For Google Container Registry (GCR) and Artifact Registry:
Go to your GCP connector settings.
Select Configure next to the Containers plan.
Verify Agentless container vulnerability assessment is enabled.
Images are automatically scanned when you push them to the registry.
Enable audit logging
Enable GKE audit logging for runtime protection:
# Enable audit logs for existing cluster
gcloud container clusters update <cluster-name> \
    --zone <zone> \
    --enable-cloud-logging \
    --logging=SYSTEM,WORKLOAD,API_SERVER
Deploy specific components (optional)
If you need selective deployment or to fix issues with existing deployments:
Deploy Defender sensor to specific clusters
To deploy the sensor to only selected GKE clusters:
Connect only specific clusters to Azure Arc (not all clusters).
Go to Recommendations and find "Arc-enabled Kubernetes clusters should have Defender extension installed".
Select only the clusters where you want the sensor.
Follow the remediation steps for the selected clusters.
Enable vulnerability scanning only
To enable only registry scanning without runtime protection:
In connector configuration, enable only Agentless container vulnerability assessment.
Disable other components.
Save the configuration.
Configure by cluster type
Standard GKE clusters
No special configuration is required. Follow the default deployment steps.
GKE Autopilot
For Autopilot clusters:
The Defender sensor automatically adjusts resource requests.
No manual configuration is needed for resource limits.
Private GKE clusters
For private clusters:
Ensure the cluster can reach Azure endpoints.
Configure firewall rules if needed:
gcloud compute firewall-rules create allow-azure-defender \
    --allow tcp:443 \
    --source-ranges <cluster-cidr> \
    --target-tags <node-tags>
Configure exclusions
To exclude specific GKE clusters from automatic provisioning:
Go to your GKE cluster in GCP Console.
Add labels to the cluster:
- For Defender sensor:
ms_defender_container_exclude_agents=true - For agentless deployment:
ms_defender_container_exclude_agentless=true
- For Defender sensor:
Note
For Arc-connected clusters, you can also use Azure tags:
ms_defender_container_exclude_sensors=truems_defender_container_exclude_azurepolicy=true
Best practices
- Start with non-production: Test on dev/test clusters first for selective deployment.
- Enable all components: Get comprehensive protection when possible.
- Use Workload Identity: Enhance security with Workload Identity.
- Regular monitoring: Check dashboard weekly for findings.
- Image signing: Implement Binary Authorization for production.
- Document exclusions: Track why certain clusters are excluded in selective deployments.
- Deploy incrementally: When using selective deployment, add one component at a time.
- Monitor each step: Verify each component before proceeding to the next.
Clean up resources
To disable Defender for Containers, follow these steps:
Go to Environment settings.
Select your GCP connector.
Choose one of the following options:
- Set Containers to Off to disable the plan.
- Delete the entire connector to remove all configurations.
Clean up GCP resources:
# Delete service account
gcloud iam service-accounts delete <service-account-email>

# Disconnect clusters from Arc
az connectedk8s delete --name <cluster-name> --resource-group <rg>