Note
Access to this page requires authorization. You can try signing in or changing directories.
Access to this page requires authorization. You can try changing directories.
In this article, you learn how to create a new Agents SDK .NET project in Visual Studio, using the Microsoft 365 Agents Toolkit.
Prerequisites
Install the Agents Toolkit extension for Visual Studio for Visual Studio.
An Azure OpenAI model from the Azure AI Foundry portal. You need the following data about the model:
- Name
- Target URI
- Key
Create a new project
The Agents Toolkit provides a project template to help you get started with building an agent. You can start from a template in the toolkit or from samples in the Agents SDK. This document focuses on the templates available in the Agents Toolkit. There are different templates and options available to create Agents SDK projects with the toolkit. This walkthrough focuses on creating a Weather Agent using Semantic Kernel and Azure AI Foundry.
Note
The procedure that follows currently works for .NET only.
Open Visual Studio and select Create a new project. Search for "agent" to find new templates using the Microsoft 365 Agent Toolkit and Agents SDK Select Microsoft 365 Agents > Next.

A dialog appears so that you can name the agent. You can also change the location and solution name if you want to.
When you're finished, select Create

You can select a few different options the toolkit provides for creating agents.
For this walkthrough, select Weather Agent > Next sample to use the Microsoft 365 Agents SDK. This prebuilt sample implements Semantic Kernel for orchestration with Azure AI Foundry or Azure OpenAI models. You can also use the Empty agent sample if you want to get started without a model or orchestrator.


A dialog prompts you for the LLM service to choose.
For this walkthrough, select Azure OpenAI.
This information can be found in Azure AI Foundry under Models and endpoints.

Fill in the required inputs: Azure OpenAI service key, Azure OpenAI endpoint, and Azure OpenAI deployment name.
Select Create. The toolkit creates the project from a template for you.
In a short amount of time, you should have a new project created using the Agents SDK.

Test your agent in Microsoft 365 Agents Playground
To get started, you can test locally using the Microsoft 365 Agents Playground in the Toolkit.
To start testing, set the debug target in your project to be Microsoft 365 Agents Playground."
The playground opens for you to test in a new browser window with your local host and shows the playground with it ready to test. Start sending messages to your agent to test its behavior.
Debug and test your agent in Microsoft Teams or Microsoft 365 Copilot
You can also set the debug target to be directly in Microsoft Teams or Microsoft 365 Copilot.
Select one of the debugging options as the debug target from the list of targets.

It takes a few moments to switch to Microsoft Teams. You're prompted to add your agent in the Teams Client that opens.

Select Add. A notification pane appears, indicating that the agent is added successfully.

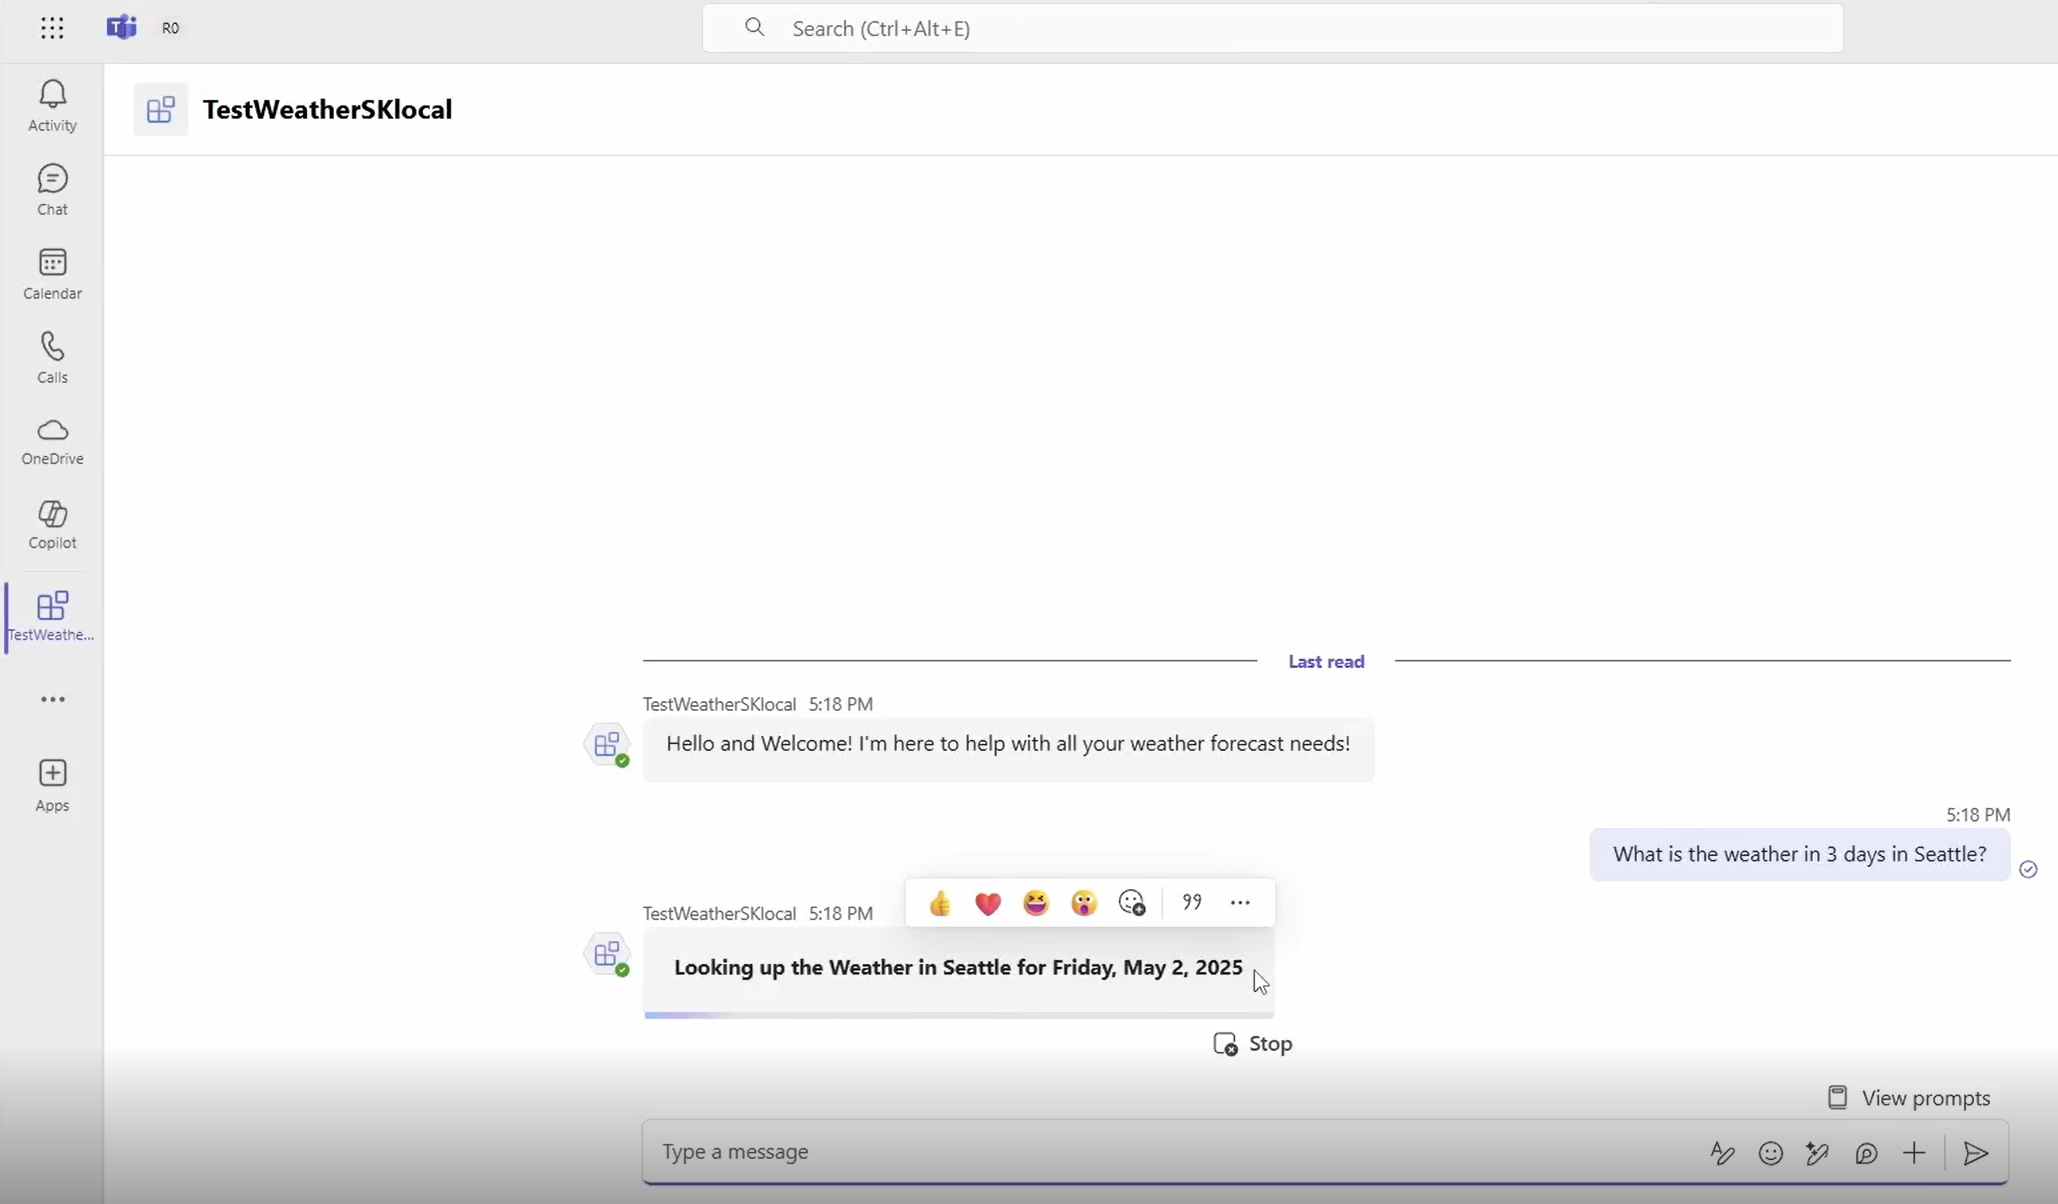
Select Open on your new agent to open in Teams. You can ask your agent questions, directly in Teams. You can set breakpoints to work through debugging your experience when required.
Summary
You have now successfully:
- Started a new Microsoft 365 Agents project and agent using the Agents Toolkit
- Tested the agent locally using the Microsoft 365 Agents Playground
- Deployed the agent for debugging directly in the Teams or Microsoft 365 channel