Note
Access to this page requires authorization. You can try signing in or changing directories.
Access to this page requires authorization. You can try changing directories.
Viva Glint Administrators can set up custom access at the role level or the user level in Microsoft Viva Glint. When setting at the user level, choose to grant access individually or with a bulk upload.
Grant custom survey access for a role
Note
Setting custom access at the User role level applies the selected population for the role's Admin, Focus Area, and Survey access. Custom access granted at the role level can only be edited at the role level and no edits can be made on to access on a user's profile.
Select Configuration and then choose User roles.
Select the role that should have custom access.
Select Permissions and go to Team access.

Select Custom and in the Populations access section, select Define populations.
In the Access permissions scope pane that appears, select + New Population on the Populations tab.
Select + Add filters and choose attribute values for the data the role should have access to.

Still in the Access permissions scope pane, go to the Programs tab.
Select survey programs that this role should have access to.

Select Save in the top right of the Access permissions scope pane.
On a role member's profile, updated custom access displays - showing the role that grants access - for Admin, Focus area, and Survey access:

Because the custom access is granted at the role level, selecting the pencil symbol to edit shows a grayed out population that can only be edited at the role level:


Grant custom survey access for a user
Select Configuration and then choose People.
Go to the User Role that has members that need custom access.
Search for or select a user.
On the user's profile, next to the survey name who needs access, select the pencil symbol to edit.
Note
The person needs to be granted access to a survey program in a survey's Reporting section in order for it to appear on their user profile.
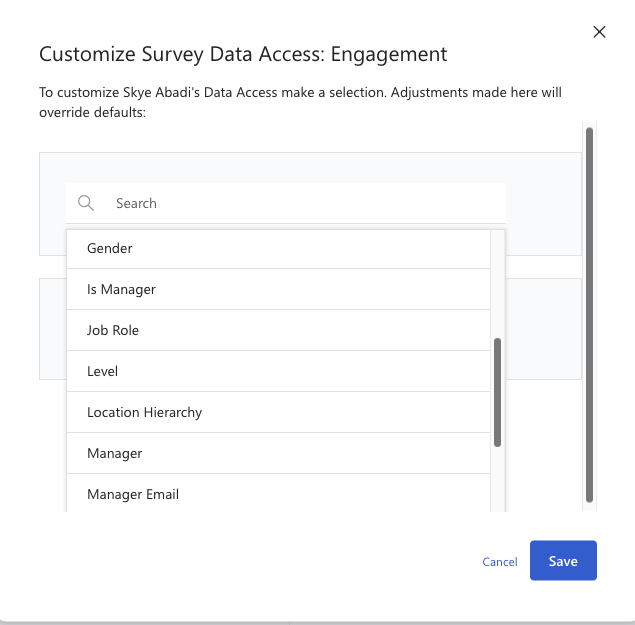
Select + Population and then + Add Filters.
Select attributes and values that define the segment of employee data that this user should access and select Done.

Select Save to apply custom access for this user and survey program.
Important
To set up custom access for a user using historical attribute values that aren't present in your current user data, the custom access upload must be used. Editing the access of a user with custom access linked to historical/inactive values will result in the custom access being removed (a pop-up error noting "Saved filter no longer available" will appear) and, if necessary, the custom access upload must be used to restore the access.
Custom access to direct reports
For direct reports to have custom access, they need to identify them by "manager ID" and not "manager hierarchy." Using "manager hierarchy" can grant access to unintended users and block reporting access from intended users.
Custom Admin and Focus Area access
Important
Users with customized Admin access can only see employee data for populations of users that they have access to.
For example, if a user has custom Admin access to Department = 'Sales' and 'Marketing,' they don't see Distribution Lists or users in People that have other Department values.
Users can have Focus Areas and admin access customized.
Select Configuration and then People.
Search for or select a user.
On the user's profile, next to Admin Access or Focus Area Access, select the pencil icon to edit.
Select attributes and values that define the segment of employee data that this user should have access to and select Done.

Select Save.
Access to one or multiple populations
For survey, Focus Area, and Admin access, you can grant access to one or multiple populations, depending on how a user should see data in their reports.
- To give a user access to the overlap of different employee groups, add all attribute selections to one population.
- To give a user access to multiple populations separately, add them as separate populations.
Example:
For this manager to have access to the overlapping data between Cost Centers: 10010, 10414, 11140 and Departments: Support, Sales, and Marketing, select all values in one population:

This access appears on their user profile as one population with values from both attributes:

But, to grant this user access to these employee groups separately -so they don't have access to only the overlap of these populations - add the attribute values selections in separate populations:

This access appears on their user profile as two populations, with values from each attribute:

Grant custom access in bulk
To grant custom access to multiple users for survey, Focus Area, and Admin access, export existing custom access and import new access files in Advanced Configuration uploads.